Uploading images
Becka, Pls tweak the following instructions for WINSCP. Currently they are for SSHSecureShellClient.
Note: Text on the page appearing in fucshia is a command you will
enter. When text on this page appears in green it refers to your personalized
Discover Life user information.
- Open up WINSCP File Transfer by clicking on its icon.
- In the top tool bar there is an option entitled "Quickconnect", click on this (or on the little computer icon).
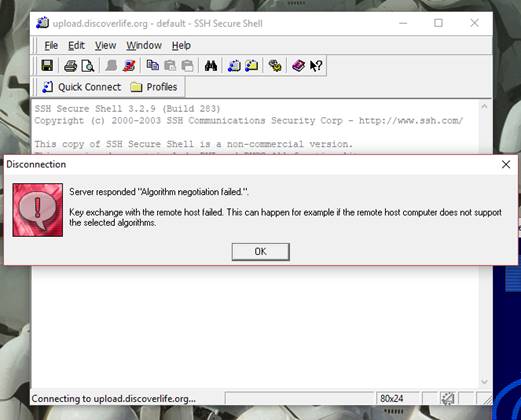
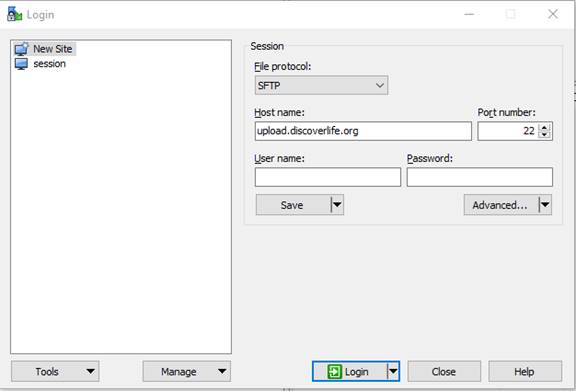
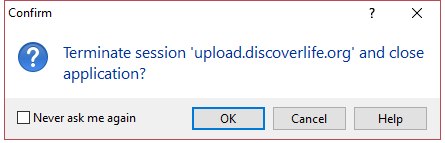
- In the host name box type upload.discoverlife.org
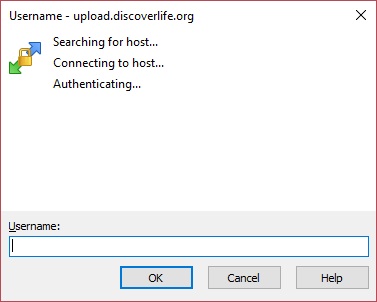
- In the username box type the username assigned to you by Discover Life.
NOTE: Your username is case sensitive.
Leave the other values as they appear.
Connect.
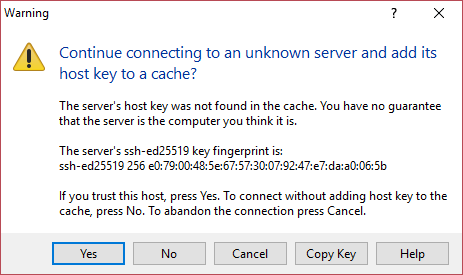
- You may get an error or host identification warning here, if so -- continue, yes, ignore, ... save key to your machine.
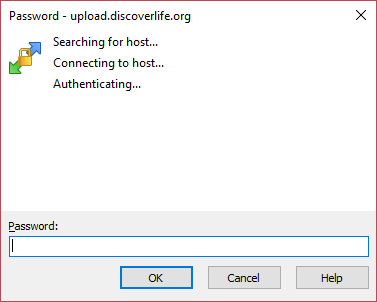
- Fill in your password in the appropriate box and login.
NOTE: Your password is case sensitive.
- Make sure that the images that you want to send over are in jpeg format at the highest resolution your camera allows.
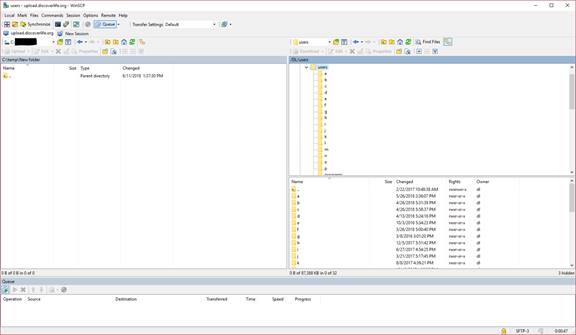
- Click "Window" then "New File Transfer".
- The left side of the frame contains all of the files on your PC.
The right side of the frame contains all of your files on Discover Life.
- HEY! EVERYONE MISSES THIS STEP: On the right side, open the "images" folder.
- Select the jpeg images on your PC in the left frame,
and drag them to the the right frame.
Do not drag entire folders into the images folder, just your individual jpegs.
- You will have to wait for the images to upload before you shut the program down.
Their progress is shown in blue under the two frames.
- All images that you upload should be available the next morning on the website.
If you need them sooner, please contact dl@discoverlife.org
Edit associated information for where and when
- Manage the information associated with your album by clicking the [edit] link next to your name on
the following page: Photographers. For more detailed
instructions, see Help.
Identify species


